

Northgard Battlegrounds Placement and Adjacency Guide
Two players can buy the same nine structures and get very different fights out of them. Most bonuses in this game only reach the six hexes around a structure, so the order you fill the board in matters as much as what you buy. This guide covers the rules first, then the habits that win rounds.
Two kinds of neighbour bonus
Read an effect for one phrase. "Every neighbouring Unit" means the structure hands something out: Hunter's Lodge gives +6/12/18 Damage to each unit camp touching it, so it wants as many camps around it as you can fit. "Per neighbouring Economy" means the structure collects: Marketplace earns 1/2/3 extra Krowns for each Economy building beside it, so it wants to sit inside your economy cluster, not next to your army.
The mistake is treating the two the same. A giver placed on the edge of the board wastes half its sides, and a collector surrounded by the wrong tags earns its base value and nothing else. Every structure page on this site sorts its effects into these groups in its synergy map.
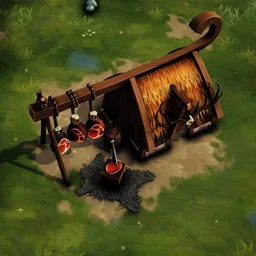
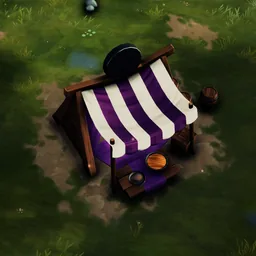
Terrain: Forest, Mountain and Naströnd
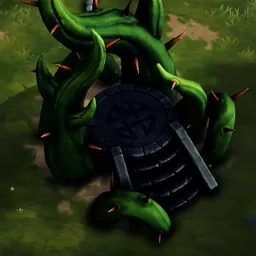
Forest and Mountain hexes count as Terrain, and so does Naströnd, the only structure that carries the tag. Circle of Stone does not. Tracker Camp lives on this: since patch 0.77.111d its Trackers have no burn of their own, and all of it comes from +2/4/6 per neighbouring Terrain. A Tracker Camp with no Terrain beside it is just three archers.
Two things catch people out. A Terrain bonus works even if you never colonised that Forest or Mountain hex, so a camp at the edge of your land can still use it. And Yggdrasil's +75/150/225% Health only switches on next to a Forest, so check where the Forests are before you buy it rather than after.


A front line, then a back line
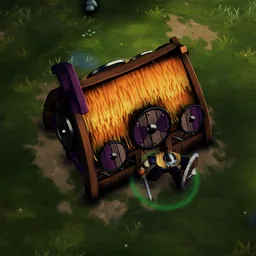
Warrior Camp and Shield Bearer Camp fight at range 1, Axe Throwers at 5, Healers and Trackers at 6. Put the melee camps on the side facing the enemy and the ranged ones behind them. With too few melee units up front, enemy units walk straight past and reach your healers first, and a Healer at 35 to 105 health does not survive that.
Mixing helps the other way too. A board of only melee leaves units queuing behind each other with nothing to hit, while ranged units behind a wall get the whole fight to shoot.
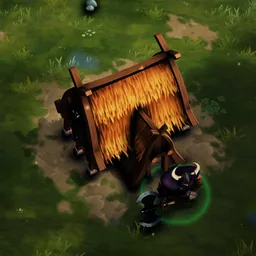
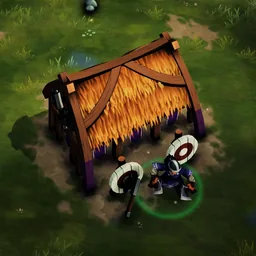
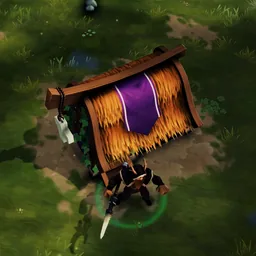
Build around a hub
The strongest boards put one buff structure in the middle and ring it with camps. Hunter's Lodge is the best centre for most armies because it boosts every unit; Woodcutter's +4/8/12 Damage reaches Ranged units only, so it belongs in the back line or not at all. Farm does the same job for health, +25/50/75 to every neighbouring unit, and Shield Bearer Camp is the camp to put beside it: the extra health goes on the units that take the hits.
Flat damage is worth most on units that hit several targets. Cleave now spreads 50% of a hit across a 2.5 radius, so a cleaving unit next to Hunter's Lodge carries its bonus into every enemy it splashes.
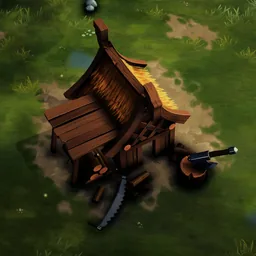
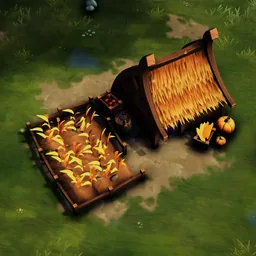
Tiles: Fertile, Rocky and Wildlands
Some hexes in your settlement are Fertile, Rocky or Wildlands, and a handful of structures only pay out on the right one. Look at the tile before you drop a building there, not after.
House is the clearest case. On a Fertile tile it hands you a free villager every round, and that part does not grow with level, so a level 1 House does the whole job. A villager from the shop starts at 4 Krowns and gets dearer as you buy more, which makes an early House one of the cheapest buys in the game. Once every structure has the villagers it needs, sell the House and give the hex to something that fights.
Mine is the opposite: its 2/4/6 Krowns come from the Rocky tile, and each villager inside adds only 1 more. Two level 3 Marketplaces side by side earn 9 Krowns each, 18 together, on any tile at all, so do not bend your board around a Rocky hex just to fit a Mine.
Wildlands is where Ceremonial Bonfire belongs. At level 3 it gives neighbouring units 3 Burn, plus 6 more on Wildlands, three times what it does anywhere else. Hunter's Lodge doubles its Krowns there too, 1/2/3 extra by level. And a Farm on Fertile adds 5/10/15 Health to its neighbours at the start of every round on top of its normal bonus, so the camps beside it keep getting tougher the longer the run goes.
Healers want empty tiles
Healer's Hut is the odd one out. It gains 2/4/6 Healing for each empty tile beside it, not for any neighbour. Early in a run, with most of the board still open, a Hut on its own patch heals well. By the late game every hex is full, the bonus has gone, and its Healers act at only 0.4 speed. That is the round to sell it, not the round to level it.
Stag players have a better late healer in Hall of Skalds, whose Skalds act at 0.7. Put Mimirsbrunn beside it. Mimirsbrunn gives neighbouring Healers 10/20/30% action speed, and both carry the Knowledge tag, so the Hall earns Lore from the well next door while the well earns Lore from every Knowledge structure you own.
Mender's Hut works another way: it gives each neighbouring unit 10/20/30 Regen. Regen pays out over time, and a unit that dies in the first seconds of a fight never collects it. Set the Hut beside your Shield Bearers or anything a Farm or House has already made bulky, not beside fragile archers.


Economy clusters
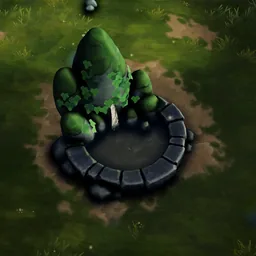
Marketplace collects from Economy structures: Mine, Farm, Woodcutter, Hunter's Lodge, Offering Well, Sheep Fold and other Marketplaces. Pack them together with a Marketplace in the middle and it earns 1/2/3 more Krowns for each of them, on top of their own income. Put Hunter's Lodge and Farm on the edge of that cluster, because they also buff the unit camps on their other side, so the same hex pays twice.
Kobold Camp counts Economy structures across your whole settlement, not only its neighbours: its Kobolds gain 0.1/0.2/0.3 action speed for each one. That is why Kobold boards keep a Marketplace even once they have enough Krowns, and why the Kobolds can stand at the front, well away from the cluster that feeds them.
When every slot is full and every structure has its villagers, spare villagers do nothing. Sell them back and put the Krowns into the shop.
A last look before the fight
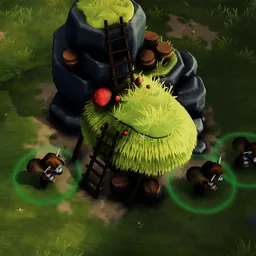
Before you end the shop phase, check the board once. Each giver should have its open sides filled with the units or tags it gives to. Each collector should sit among the tags it counts. Melee camps face the enemy, with ranged camps and healers behind them. Tile structures sit on their tile. And nothing is still holding a hex for a bonus it no longer gets, such as a House with no one left to staff or a Healer's Hut with no empty side. Moving one structure often wins more than buying a new one.