

VAMPIR Gear Guide: Enhancing, Refine and Blessing
Gear in VAMPIR breaks. Push an item past its safe levels and a failure destroys it, Refine rolls can eat thousands of Trinity, and grave goods follow rules of their own. None of it is hard once you know which upgrades are safe, which ones only cost resources and which ones can wipe an item. This guide goes slot by slot and system by system, in the order a new character meets them, and ends with Trinity, the material nearly every upgrade on this page competes for.
The slots and what each one is for
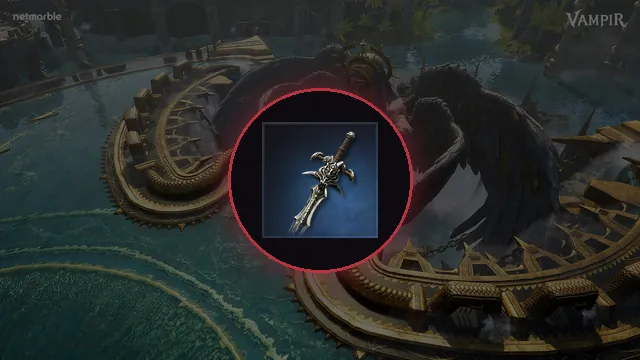
A character wears 11 main pieces: a weapon, four armour pieces and the accessories, with the Insignia joining at level 70. Each slot leans toward one kind of stat, which helps when two items of the same grade compete for a slot: take the one whose substats match what the slot is for. Boots that roll move speed and gloves that roll attack speed are doing their job; an earring with move speed is a weaker roll than it looks.
Beside the main gear sit seven grave goods, a separate set with its own upgrade rules and the Resonance bonus covered below. Treat them as a second gear set, not as accessories.
| Slot | Leans toward |
|---|---|
| Weapon | attack, damage |
| Helm | durability, MP, skill speed |
| Armour | durability, MP |
| Boots | move speed |
| Gloves | attack speed |
| Necklace | evasion, max MP |
| Earring | attack, durability |
| Ring | accuracy, damage |
| Bracelet | attack, damage |
| Belt | damage, weight |
| Insignia (level 70) | skill defence, evasion, status hit |
Enhancing: green levels, red levels and restoring
Enhancing costs a scroll and gold, and every item shows its levels in two colours. Green levels are safe: a failure costs only the scroll. Red levels can destroy the item, which breaks it into materials. The safe range differs by item type, and the marker on the item is the number to trust: accessories can break from +2 and grave goods from +4, and weapons and armour stay safe a little longer.
Spend scrolls where the item will last. Starter gear is gone within days, so leave it at +0 and start at Rare (blue), which you wear far longer; accessories are fine to enhance from the start. Push into the red only on an item you could lose without falling behind, or one you are breaking on purpose for the enhancement achievement.
A destroyed Rare or better item can be brought back with a restore ticket, one ticket per slot type (weapon, armour, accessory, grave good). Tickets come from events such as attendance rewards, so a restore is a safety net for a mistake rather than a plan for gambling in the red.
- Starter gear: don't enhance
- Rare (blue) and up: enhance inside the green levels
- Accessories break from +2, grave goods from +4
- Restore tickets bring back one destroyed Rare+ item of their slot
Refine: roll once per slot, then stop
Refine (Rare and up) adds two or more random substats to an item and lets you reroll them for gold and Trinity, with a save-and-load so a bad roll can be thrown back. The trap is the reroll. Each roll costs 10 Trinity and 15,000 gold on a weapon, 3 Trinity and 3,000 gold on armour, and 15 Trinity and 9,000 gold on an accessory, and a perfect roll is rare. Early on, refine each slot once and keep what you get. Chasing the perfect line on gear you will replace at the next grade burns the Trinity that Discipline and grave goods need.
Save serious rerolling for the pieces you will wear for weeks, such as a Legendary weapon, and roll the slot's own stat theme first.
Blessing: safe to fail, expensive to try
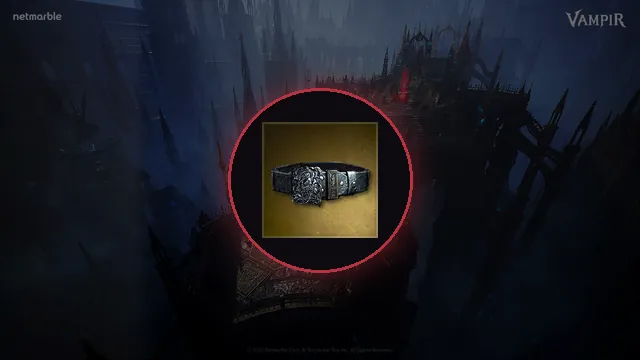
Blessing (Rare and up) is a chance-based upgrade paid in Trinity: 100 a try on a weapon, 40 on armour and 200 on an accessory. One success finishes it. A failure costs the Trinity but never breaks the item, which makes Blessing the one upgrade you can attempt without risk to the gear itself.
Bless only gear you will keep. The Trinity is gone either way, and a Blessed item you replace next week wasted it. A Blessed item does give back more Trinity when dismantled than a plain one, which softens the loss but doesn't cover it. Grave goods can't be Blessed at all.
Grave goods, souls and Resonance
The seven grave goods (Scent, Chalice, Testament, Hour, Record, Melody and Face of Night) enhance with 10 Trinity per step instead of scrolls, and they can fail from +4. At +4, +8 and +12 each piece gains a random coloured soul, and the souls across all seven pieces add up to Resonance bonuses. So the useful targets are those three levels: +4 is the first soul, and every level between thresholds adds stats but no soul.
Aim for yellow 3 first. It turns on 4% damage amplification and is reachable early, because yellow can roll on every piece. After that, build toward crimson 6 for crit rate and green 3 for crit damage. A crit-based class at the top end pushes crimson and green to 9 each with yellow 3; against bosses that resist crits, yellow 9 and vermilion 9 (damage and cooldown) take over. Carnage's boss setup on its class page follows exactly that split.
Where they come from shapes the order. Scent and Chalice are shop items (Scent from level 35, Chalice from 40) and Record joins at 65; Testament comes from Gehenna and its Point shop; Hour from the Elite Dungeon; Melody and Face from Tomb coffins, and only those two can roll magenta or teal souls. A broken grave good leaves afterimage shards, and 200 of them with gold and Trinity craft a box that gives one back at +3 to +8.
| Soul colour | Turns on at | Bonus | Grows to |
|---|---|---|---|
| Yellow | 3 | damage amp 4% | +1% per soul to 9 |
| Green | 3 | crit damage 12% | +3% per soul to 9 |
| Crimson | 6 | crit rate 10% | +2% per soul to 9 |
| Vermilion | 6 | cooldown 5% shorter | +1% per soul to 9 |
| Blue | 4 | normal-monster damage resist 3% | +1% per soul to 6 |
| Purple | 4 | PvP damage resist 3% | +1% per soul to 6 |

Insignia at level 70
The Insignia is an accessory slot that opens at level 70 and upgrades like the other accessories, so it breaks from +2 the same way. It brings skill defence, evasion and status hit, the stats that matter in PvP and against bosses that land debuffs. Rare Insignias come from Ancient Workshop zone 6 and up, the level 107 world boss Usurpator (top 70% contribution) and the Serpent's Throne Epic Dungeon. Heroic ones come from Enoch, the 3-star boss in Gehenna zone 2, and from Relic Defense for the top two clans.
Get a Rare one from the Workshop or Serpent's Throne as soon as the slot opens rather than waiting for a Heroic. An empty slot gives nothing, and the Heroic sources are contested.
Class weapons: one for PvE, one for PvP
Every class has six weapons in the listing: Heroic tiers 1 to 3 and a Legendary for PvE, and a Heroic and a Legendary Prophet pair for PvP, which add PvP attack and PvP damage amplification. The Legendary weapons carry a proc skill of their own. Each class page lists its six with their stats.
Up to four combat presets swap gear, skills, Sefira, Progeny, Bloodshape and mount in one tap, so a player who does both modes keeps the PvP weapon in its own preset rather than wearing one weapon everywhere. If a class change is on the cards, weigh it before you invest: Legendary weapons cost 250 Class Change Proofs each to convert, up to three, while Rare ones convert free.
Locking, Collection and the warehouse

Three habits stop most gear accidents. Lock what you wear: refining, enhancing and Collection all take items from the bag, and a locked item can't be picked by mistake. Register spares in Collection before you dismantle them, because the Collection stat is permanent and the dismantle materials are small. And know that character-bound items can't move to the warehouse or the Marketplace, so a bound piece stays with the character that holds it.
Collection has its own order. Fill the accuracy entries first, since accuracy decides how often hunting hits land, and leave crit damage, evasion and skill defence entries for later.